A Wooden Clock, A Kinetic Sculpture
A Wooden Clock, A Kinetic Sculpture
Sep 13, 2021
Boca Bearings
Trial and error is the name of the game when it comes to clock building. We are huge supporters of artistic talent so it comes to no surprise that we commissioned a clock from Mike Bruck, a very talented and experimental clockmaker. Mike is not afraid to try new machinery or processes for his craft.
However, Mike warned us that a wooden clock “is barely practical, alluring as it might be. [we should] expect less of an accurate timepiece, and more of a fascinating kinetic sculpture.”
Mike had us at a “fascinating kinetic sculpture” we are strong supporters of kinetic art, as a matter of fact, we are in partnership with the city of Boynton Beach’s Kinetic Art Exhibit Moreover, this is not our first clock rodeo check out the 10,000 year old clock
Clearly, this makes an ideal project for us as it combines our three passions: Bearings, Kinetic Art and Clocks!
But before Mike embarked on the commissioned Boca Bearings clock he had to do some research using our Engineering Guide to select the right bearings for this particular application. The chosen bearings were:
ABEC #7 (for the CNC Machine)
Mike’s plan for the Boca bearings in his clock design was this; “ My plan is to redesign the weight system to use a three-line concept, using ball-bearings in the gears and pulley axles. The clock should then run for about three days. The experiment is that the gear train system would only "feel" one-third of the driving weight, which would not normally be enough to overcome friction in the brass-rod-to-wood bushing system as designed. This is where Boca bearings come into the picture. With the hugely reduced side-load and other friction, I think it will run just fine.”
To that we say, let’s try it! So here is Mike explaining explaining the difficulty and all the steps involved in clock making.
1) The wood
Wood, as easy as it is to work, has a major drawback: it isn't dimensionally stable. As temperature and humidity change, a wooden gear can undergo some very odd transformations in its shape, and a gear that isn't round is a big problem in a clock. The Old Ones had ways of getting around this; there are wooden clocks hundreds of years old that still run! But, we seek solutions more practical than were available to them. A huge factor in making possible a sensible wooden clock for the modern age was the invention of plywood. It hugely improves shape stability, and makes wooden clocks capable of much better accuracy than before.
However, plywood in its natural state is pretty uninteresting, and it has to undergo a tortuous series of procedures before it becomes a piece of practical furniture. Here are some illustrations of what goes on in the wooden clockmaker's shop of today.
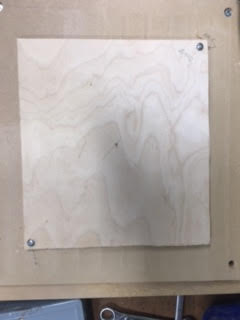
2) Transforming an otherwise boring piece of plywood
First, a trip to the beauty shop. After cutting out an appropriately-sized square, a blank is treated to a dye job, and a few coats of gloss finish are a big step in the transformation.
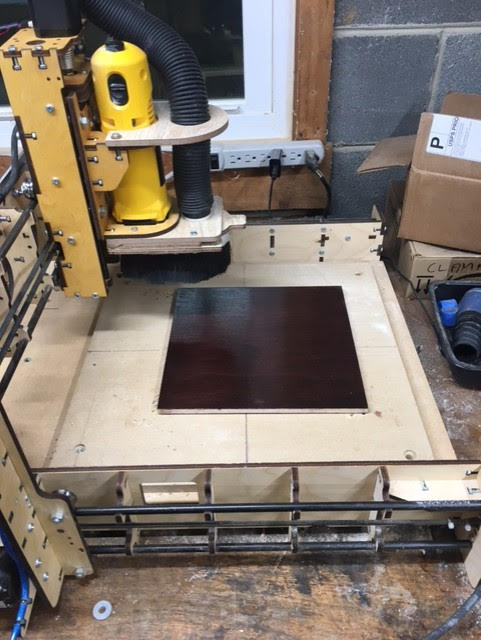
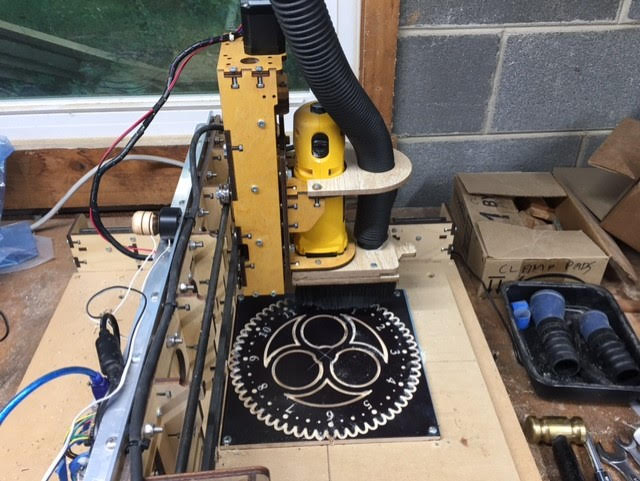
3 ) Using a Computer Numerically Controlled Machine (CNC)
The actual carving of the gear is what takes the most time, so most of us clocksters use Computer Numerically Controlled (CNC) milling machines to do the work. Before I even think about cutting anything out, however, there's a ton of preliminary work to do at the computer. The gear must be designed, and the design then translated into something that a CNC machine can understand, known as "g-code". The machines are very fast, but remarkably dumb. Often enough, the results of all this effort are an unwelcome surprise, and the whole process must be repeated.
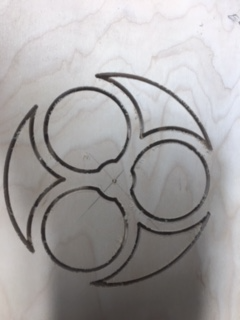
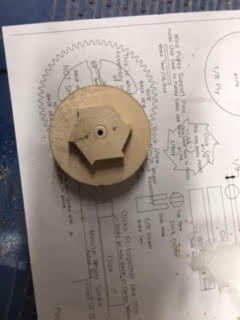
4) Gear after milling
The process is to make the cutout, seal and stain, carve the numbers and other figures, finish with gloss clear, and finally cut the outside gear teeth. All this is necessary because, as I have learned by hard experience, any finish on the gear teeth causes trouble when the clock is running. Here's the gear right after milling:
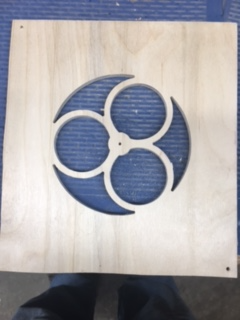
Then the tabs are cut away, which leaves us with this:
Then the sanding and staining. The stain I use is high-density and oil based, which provides a good durable finish, but takes three days to dry before further machining can take place. It's frustrating, but there are many little parts that can be fabbed in the meantime, such as:
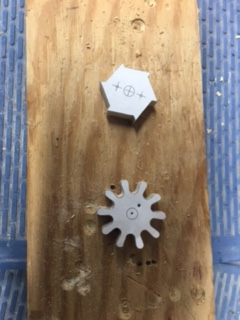
The top piece is the click gear that holds the weight when the clock is wound. The bottom is a 10-tooth pinion that's part of the works. I like to cut these parts on the scroll saw while the CNC works on the big pieces; they're too trivial to set up on the machine.
5) A scroll saw versus a CNC
I built my first several clocks by cutting all of the parts out on the scroll saw. It's a tedious process that requires attention to accuracy over a long span of time. It's all very Zen, but the reason that CNC machines become increasingly attractive is that they can take over that part of the job. However, I have found, as shown below, that some machines seem to be far more accurate than others.
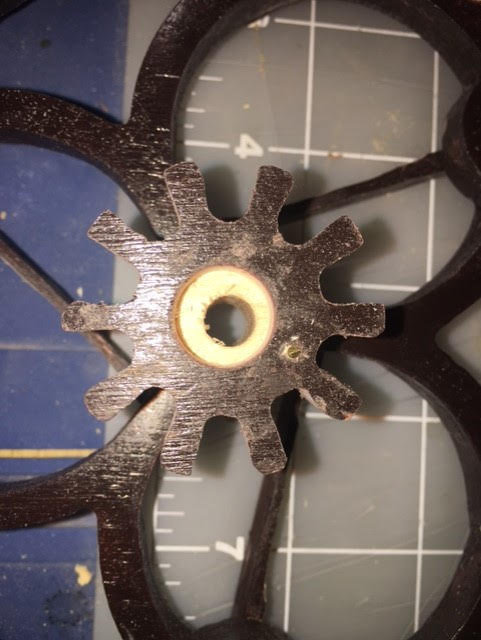
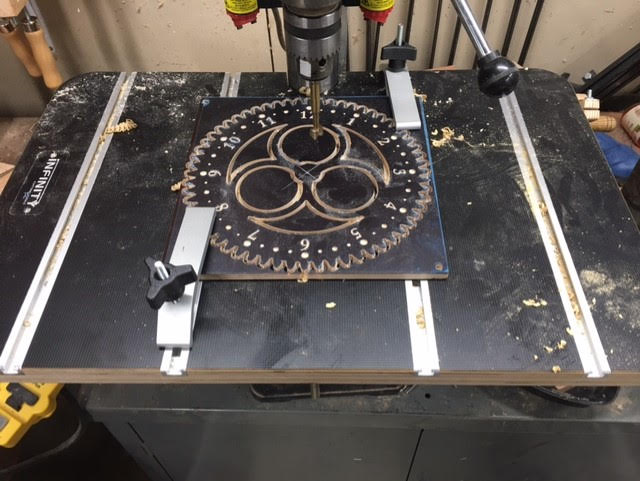
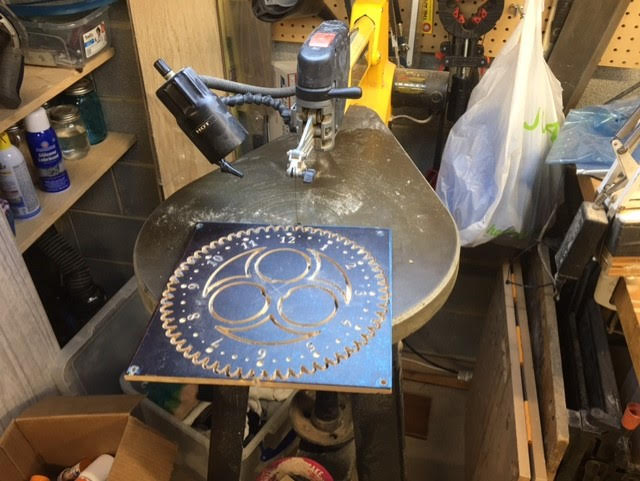
6) Drill press
As I show below, there are ways of overcoming these problems, time consuming though they might be. However, I've ordered a new CNC machine that will hopefully eliminate these inaccuracies. Now to the drill press, where the gear-to-be can be clamped down and truly concentric holes bored for the bearing and the mandrel that will be used to align the gears when they are assembled in a "stack". Most gears are associated with a "pinion", a smaller gear that either drives or is driven by it. The gear and the pinion are separated by a spacer. The entire assembly is what I refer to as a "stack".
As the perimeter of a properly designed gear is being carved by the machine, it should leave "tabs" of plywood that connect the gear to the blank. This keeps the gear from leaping for freedom and destroying itself when it is completely cut away. Freeing the gear from its blank is done pretty quickly at the scroll saw.
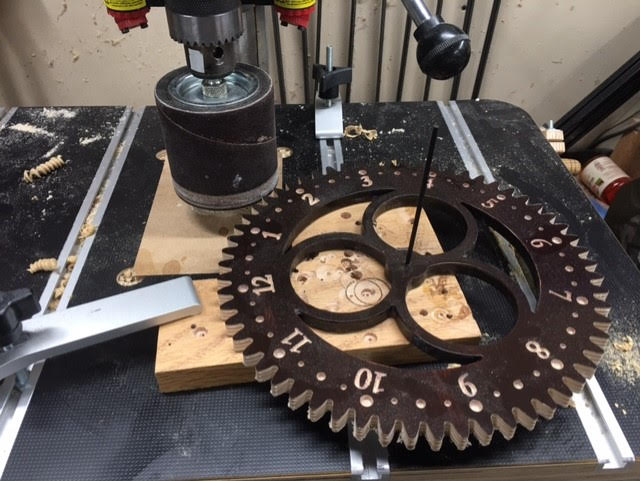
Now back to the drill press again. With a sanding drum fitted, and the gear in a jig, I can make sure the gear is truly round. I hope the new machine will hopefully make this part of the job unnecessary, but we shall see. I'll probably still check it anyway.
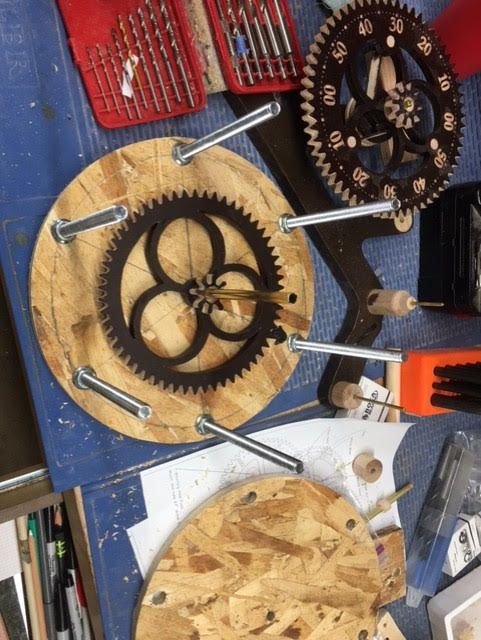
7) Stack assembly
When the gear has gotten this far, I can assemble the components into a stack. After going to all this trouble to make the gears as precisely as possible, you can see why precision in the assembly of the stack is much to be desired. Accordingly, I made a jig that clamps them together as exactly in alignment as possible.

8) Balancing
The final step prior to assembly in the clock is balancing, crucial for clock accuracy. Plywood is of a pretty consistent density, but all wood varies. So, I take the assembled stack off to the balancing jig, and I use the drill press to remove wood on the heavy side.
After that, a dab of wood stain to make the scars less visible, and I'm ready to install the bearings, one at each end of the stack, and assemble the whole thing to the clock frame. Just another four stacks to go!
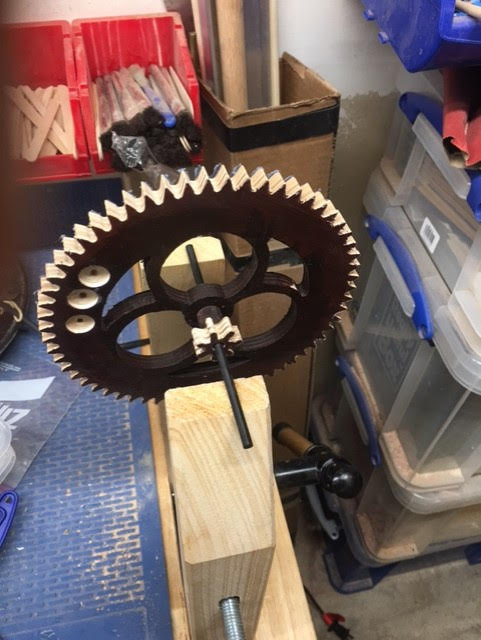
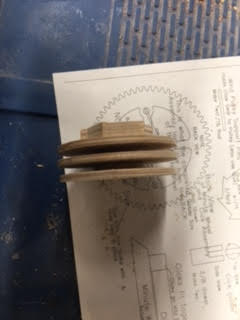
9) Winding and weight pulley
Here's the winding and weight pulley mechanism. There's going to be about 40 feet of cord on this when I'm done, which will hopefully give us our three-day runtime.
For now that concludes all the steps.
While Mike is now an accomplished clock maker, he admits he couldn’t have gotten this far without the guidance of his mentor, Clayton Boyer who for the last 10 years has been a source of knowledge and inspiration. To learn more about this great clock teacher visit his website here
We are thrilled to learn in so much detail about the making of these fascinating wooden pieces. Needless to say, we are eagerly waiting for the final product. Make sure to follow us on social media to see this one-of-a-kind USA/Artisan made Boca Bearings Clock!