Electric Skateboard Project Update 1
Electric Skateboard Project Update 1
Jun 09, 2017
Andrew Barbosa
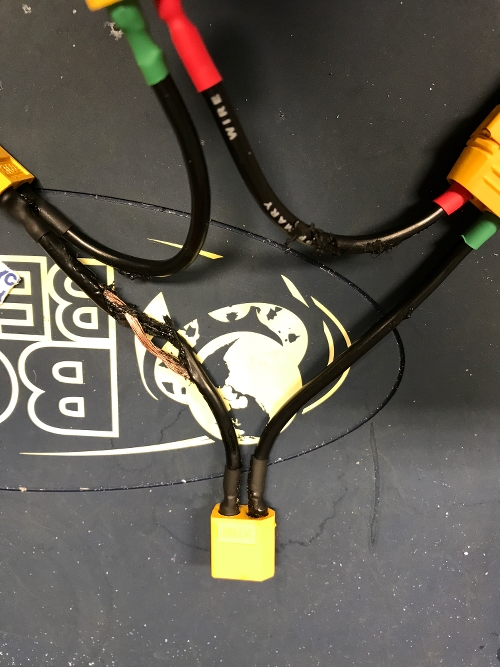
With everything on order for the board I decided to wire up the battery harness. I used 14 AWG wire for all the connections, which with the short runs is ample enough to handle the current being passed through. Soldering the connectors was simple and straight forward and after one day of work they were complete. One thing I have to recommend to anyone doing anything with battery connections is to always test everything. As I made the connections I immediately checked, with a multimeter, for any shorts. This is the most important part of the whole project and I found out first hand what happens when a short happens as soon as I tried plugging the batteries in. I didn’t realize it but I had accidentally placed the batteries in series AND parallel by connecting them to the parallel charging board. As you can see in the pictures this totally destroyed some of the wires and nearly started a fire. A huge amount of smoke poured out of somewhere too, so much I never saw where it came from. Luckily, no one was hurt and nothing important was damaged. I redid the wires and eliminated the charging board solving that issue. The first photo shows the original wiring, the second photo shows the damage, and the third shows the revised wiring.
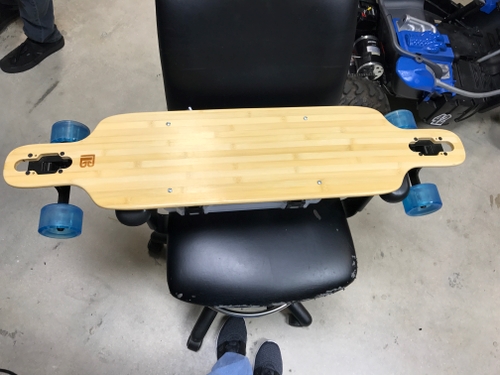
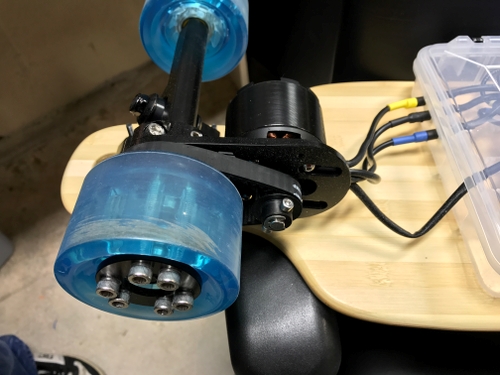
After some shipping delays I received all of the parts. The mechanical kit I selected includes some bearings, however, I swapped them for the Yellow Seal 608 bearings we carry in stock. Assembly was extremely straight forward. With the entire process being completed in about 3 hours. I don’t recommend using any power tools on this to prevent over tightening which can be an issue. Once everything is mounted and aligned properly it’s important to use a thread locker on everything. I chose not to do so to see how badly things would back out and three screws fell out completely.
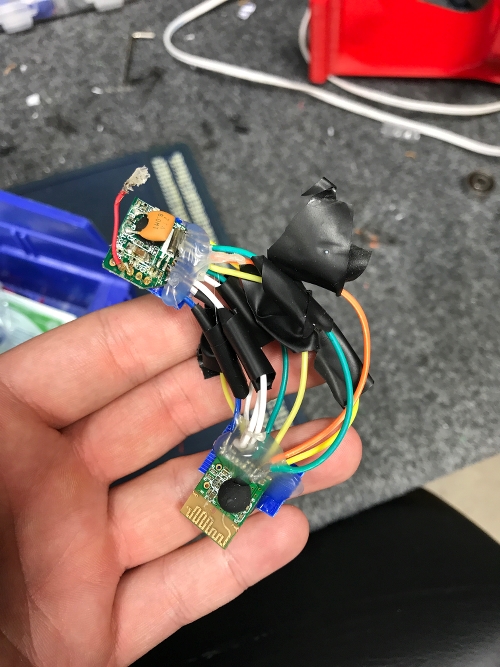
With the mechanical system finished I turned my attention to the electronics. The VESC is an incredible ESC. It natively does everything you’d want a Eboard to do, including data logging. In order to connect up the Wii Nun chuck controller all you need to do is open up the receiver and connect, either by soldering (like I did) or by making a JST connector (which I recommend), it to the I2C bus directly on the ESC. Important Note: The receiver is two boards stacked on top of each other. The connection points turned out to be very weak and it broke after a few days of use. I tried to repair it and while I did fix it the amount of time and effort it took was a lot. I chose to replace the piece altogether for safety’s sake. On the second time around I hot glued all the connection to prevent this from happening.
The VESC has a software configuration tool which makes setup extremely simple. The exact process will vary between builds so I won’t include the steps I took but you can find videos on YouTube which explain thoroughly all the facets of the configuration.
And that’s it! After configuring the ESC everything just worked. This is only version 1.0 though. I’ll come back to this project another time and do a revision and add some new features like turning signals! Look forward to seeing that later this year.


