Boca Build 2.0 Geared Sliding Puzzle: Control Box
Boca Build 2.0 Geared Sliding Puzzle: Control Box
Feb 19, 2018
Chad B.


The geared puzzle is ready for its electronics. It has been running off of an Arduino Uno that is plugged directly into the wall. Boca wanted to include a simple timer and switch so that the piece can be displayed as well as played. I was working on the fabrication but I needed help on the electronics so I turned to my friend Associate Professor Bryan Cera. Bryan also went to UWM working with Professor Frankie Flood earning his MFA.
First, Bryan used a bread board to mock up all the electronics including a digital display, main power switch, toggle switch for the motor and an Arduino Nano.


Bryan used the various tutorials provided by AdaFruit to wire and program the screen. He also made several changes for how the timer would be displayed, the lights on the buttons and how fast the motor would run (to name a few).

Bryan not only had everything working but added a few extras. To keep things clean, he made his own board for the Nano and all the wires. Check out this great posting Bryan put together on PCB fabrication on a different project. Here, one side has the circuits and soldering ...

... while the other has all the connectors. It kept the control box from just being a messy nest of wires. I am very happy with the results.

Arduino Nano mounted to BC PCB.

For the electronics housing, I used an old thermostat cover salvaged by a friend of mine who works in HVAC. You may recall the Allen Bradley box that houses my electronics on my drill press/CNC router, same friend donated that one too.
I used a scribe to mark the hole for the screen and time button.
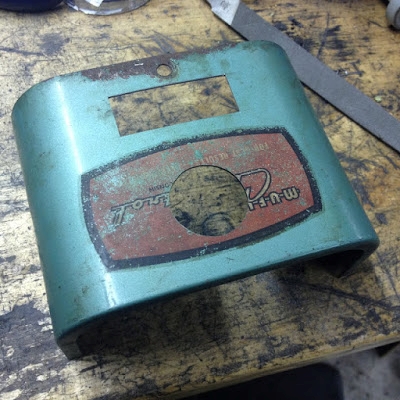
I then used a jewelers saw to cut everything out. I will weld the small hole above the screen later.

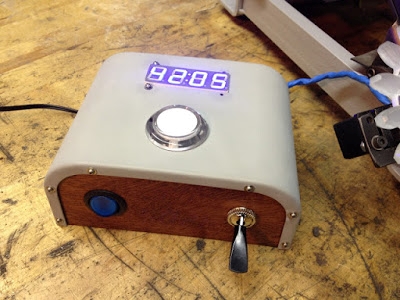
For the front, I used a piece of the mahogany from the puzzle squares. The big white button starts, stops and resets the timer while also flashing when the timer is counting. The red switch (it has been replaced with a blue one) is for the main power while the toggle switch on the right turns the motor on and off.

Shot of the inside mocked up with the screen and buttons.

For the back, I used a piece of steel that used to be a housing for a power supply I pulled from an old computer. It had a couple of bends in it that would help me fasten it to the rest of the box.

I then drilled some holes and fit some grommets I had laying around for the main power line and the wires going to the motor.

I used some powder coating from Powder By the Pound for the power box and part of the frame.

After sandblasting, I apply the powder coat before it goes into an oven at 400 F for around 10 minutes.

Here is a picture of the inside with most of the pieces in place.
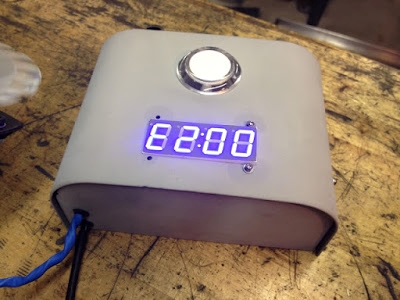
Front. It is a little difficult to see the display in the picture. Once it reaches 99 min 59 sec, it reads "boca" as seen in the picture at the top of this posting.