Replacing spool bearings on a Pflueger Summit Baitcaster
By Ron Mayer
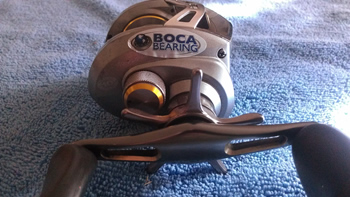
This is a very simple procedure that will extend the performance capabilities of this reel by 20-30%. Maximum casting distance and the overall lifetime of performance will be increased, while the effort required in casting is sufficiently reduced. The reel used in this tutorial is approximately 8 years old, it has endured countless thousands of casts and pitches in tournament settings. It has seen the entire spectrum of weather conditions from freezing temps and snow to 100 plus degree heat, it's been dropped, stepped on, kicked and generally abused in hundreds of fishing tournaments.
This reel was one of the favorites in my stable for flipping and pitchin a jig, worm, or soft plastic. It had reached the point that the reel was simply “shot”. It had become necessary to clean the reel after every use, reaching distances in excess of 40-50 feet with anything less than a 3/8 oz bait was nearly impossible, and reaching those distances required such a sufficient force of delivery that accuracy and presentation were suffering. Enter Boca Bearing Orange Seal bearings. The spool bearings installed in this reel are an ABEC Grade 7 Ceramic Hybrid bearing, part numbers #SMR103C-2OS/P58#7 I and SMR115C-2OS #7 LD.
 |
 |
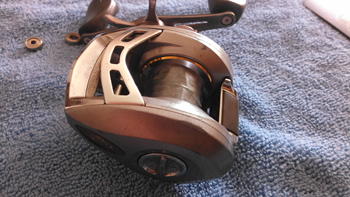
Step 1
Remove the sideplate from the reel and extract the spool from the main reel frame. Placing a piece of tape over the spooled line will help control the line after removing the spool from the frame.
 |
 |
Step 2
Remove the spool shaft pin from the spool shaft. Most of these pins are tapered and may require some moderate force to break them loose initially. This can be accomplished by tapping them with a small brass hammer if necessary.
 |
 |
Step 3
Slide the spool bearing off the spool shaft and remove any excess dirt or grease from the spool shaft. The new bearing may then be installed onto the spool shaft.
 |
 |
Step 4
Reinstall the spool shaft pin using needle nosed pliers. Seat the pin into the shaft by applying pressure to it. The pin should be centered in the shaft as shown.
 |
 |
Step 5
Locate the wire retaining clip located on the inside of the reel side plate. It will be a hex shaped wire clip. Use the needle nosed pliers to collapse one side of it while removing it from the housing. Be sure to have a good grip on this clip as they are made of spring steel wire, they can be very difficult to locate if they fly out of the sideplate housing.

Step 6
Remove the bearing located in the sideplate housing, also remove any dirt or grease from the same area.

Step 7
Install the new bearing and replace the wire retaining clip.
 |
 |
 |
Step 8
This is an opportune time to give the rest of the reel a thorough cleaning. Once the cleaning is completed, reinstall the spool back into the frame.

Step 9
Replace the sideplate. I would seriously consider tightening both the magnetic and centrifugal brake settings at this point. The new bearings are going to allow the reel to free spool very smoothly and with very little effort, failing to tighten the brakes, both the magnetic and centrifugal, will result in an immediate overrun while attempting to rethread the line through the line guide and onto the rod.
Step 10
Once the reel has been placed back on the rod I would suggest using a practice plug to make several pitches to get the feel of the bearings and to get the reel adjusted to your preferences. The ease of use and increase in distance, accuracy, and presentation will amaze you.
You will notice an immediate improvement of performance from a reel that was once destined for the trash bin or at best the “parts only” shelf. One of the biggest benefits I have found to these bearings is the financial savings they provide. For the price of one tournament quality baitcaster you can realistically achieve better than new performance from several of your favorite baitcasters that may be showing signs of old age or wear and tear.