Vintage Tool Box 3D Printed: Part 3 - Testing and Refining
Vintage Tool Box 3D Printed: Part 3 - Testing and Refining
Nov 20, 2017
Chad B.
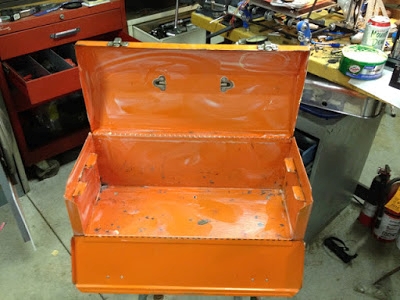
This week was originally going to be wiring, printing and calibration while next week was going to be some finish work. However, since the major construction was done I decided to get the details and finish work done and then work on printing and calibration next week. After initial construction I stripped everything down and sandblasted it to remove all rust, dirt and oil.

Using a "scientific oven" I purchased used, I sprayed the frame with Harley Black Crinkle from Powder By the Pound.


Before assembly, I washed the toolbox with soap and water and waxed it with car wax.
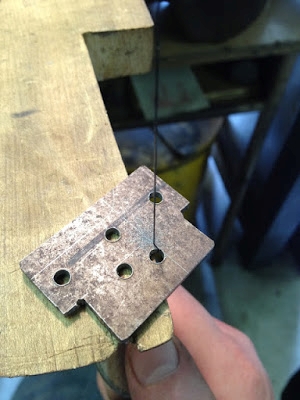
I had to wrap up a few more brackets to house the bearings for the Y axis, the belt traps and the mount for the electronics.

All the aluminum was sanded with 60, 120, 220 then 320 grit sandpaper.

Before powder coating, the frame was drilled and tapped to receive a 3mm bolt to hold the bearing bracket in place.


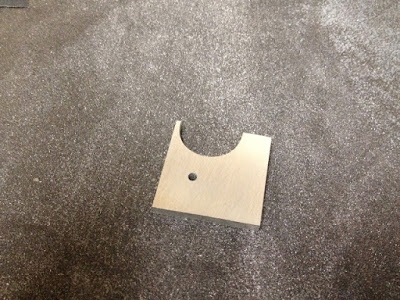
I also used some scrap steel to make some brackets to hold the belts to the 3D printed X ends. I laid everything out with a scribe, drilled the holes then cut it out with a band saw. I also used a jeweler's saw to cut a square hole to attach the belts to.

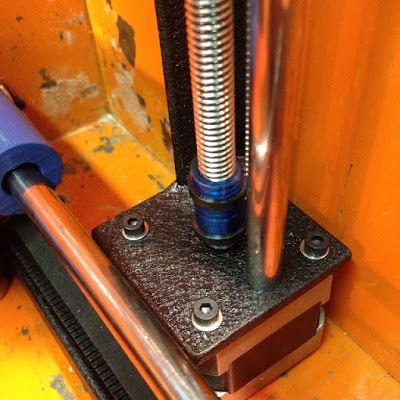
The Z axis is sanded, the extruder is assembled and then mounted.


The brackets that contain the bearings and nut for the Z are 3D printed and assembled with more of the aluminum extrusion that I salvaged from a shower sliding door.


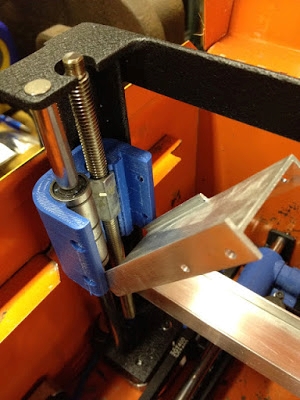
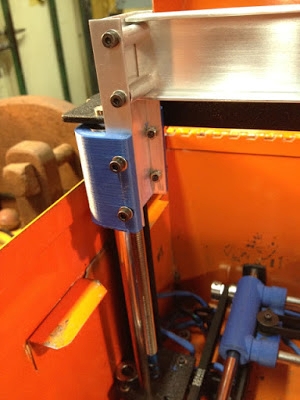
The vertical and horizontal aluminum extrusions are connected with some 3mm bolts and spaced with aluminum tubing from a local hardware store.


Here are a couple shots of the other brackets and powder coating.


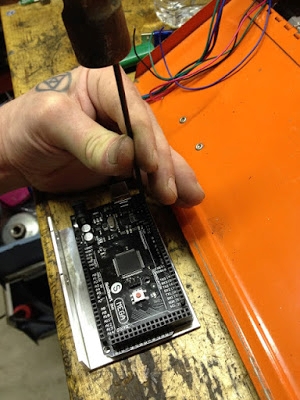
I worked on the electronics, mounting the Arduino and soldered everything up. For the wires I crimp on Molex pins and solder them. The first area to crimp holds tight to the insulation and the second area is crimped directly to the wire.


The Arduino is laid over the bracket (salvaged aluminum) and a center punch is used to accurately transfer the hole's layout before drilling.
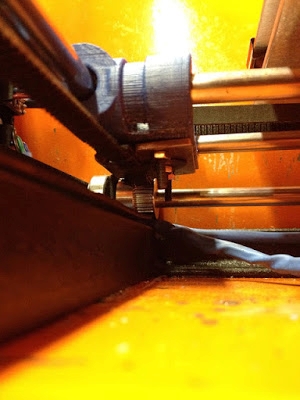
Here are two shots of the tool box with everything mounted up and wired. Next is some printing, testing and calibration.

